How to setup Google Search Console in Webflow
Up your SEO game by connecting your website to Google Search Console
1. Go to search.google.com
2. Click on Start now
3. Type your domain
Make sure to add the https:// at the start
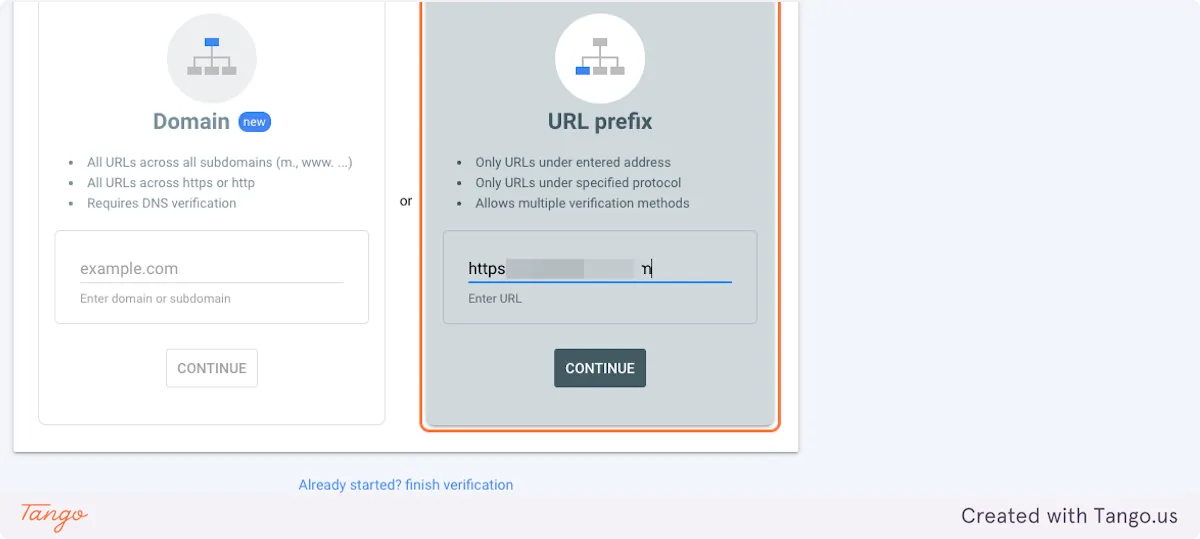
4. Click on CONTINUE
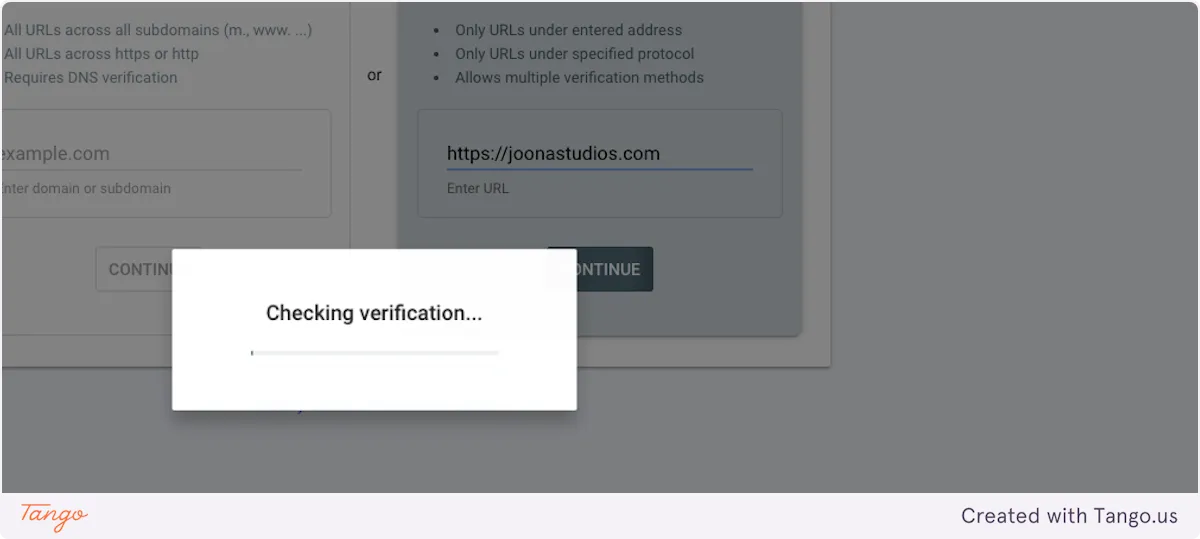
5. This Verify Ownership popup will show up
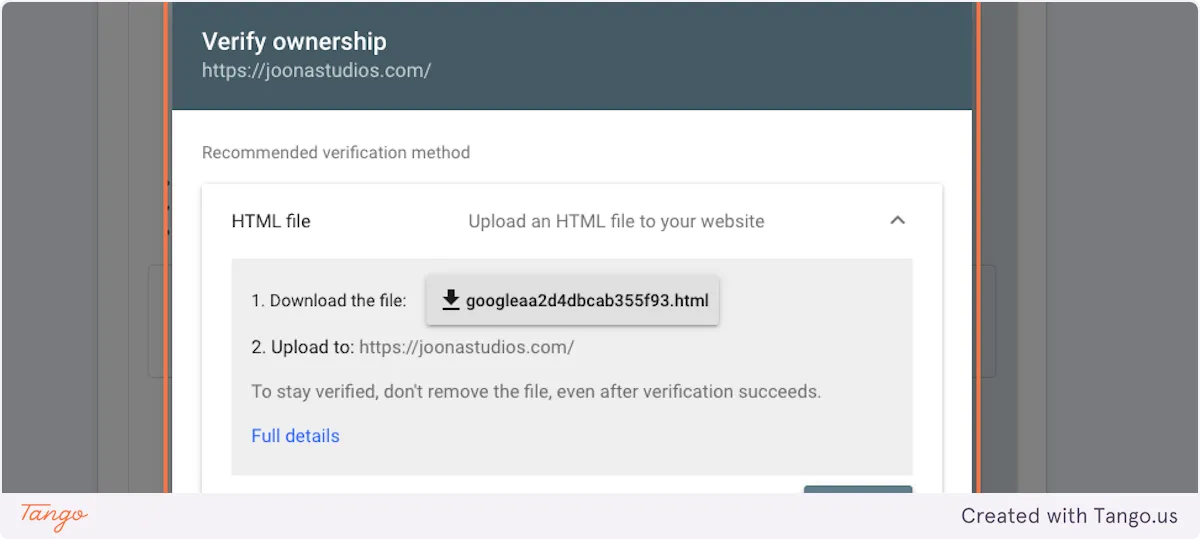
6. Open the HTML tag option
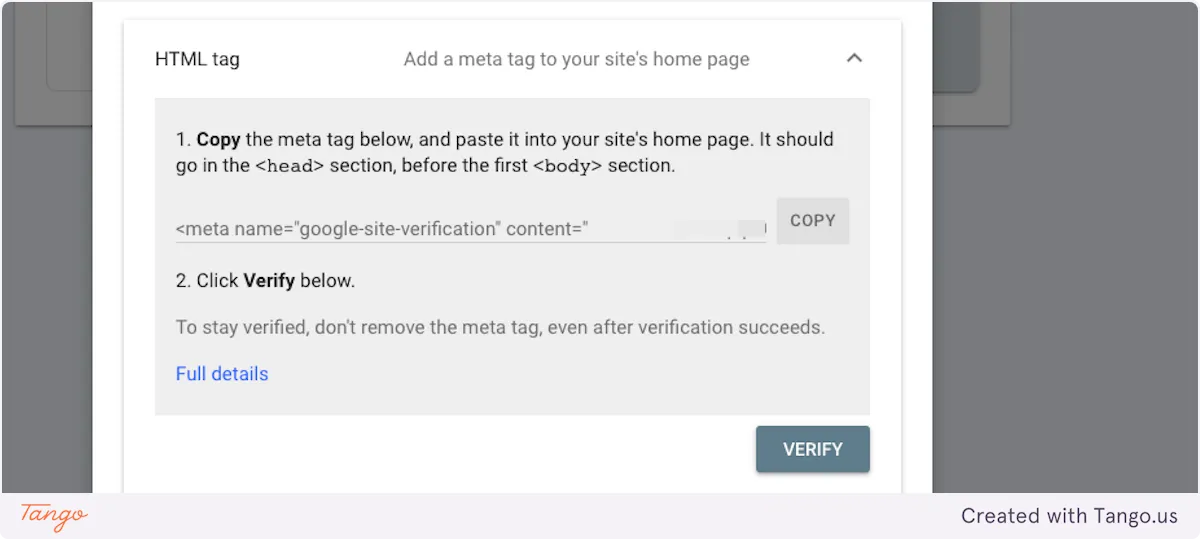
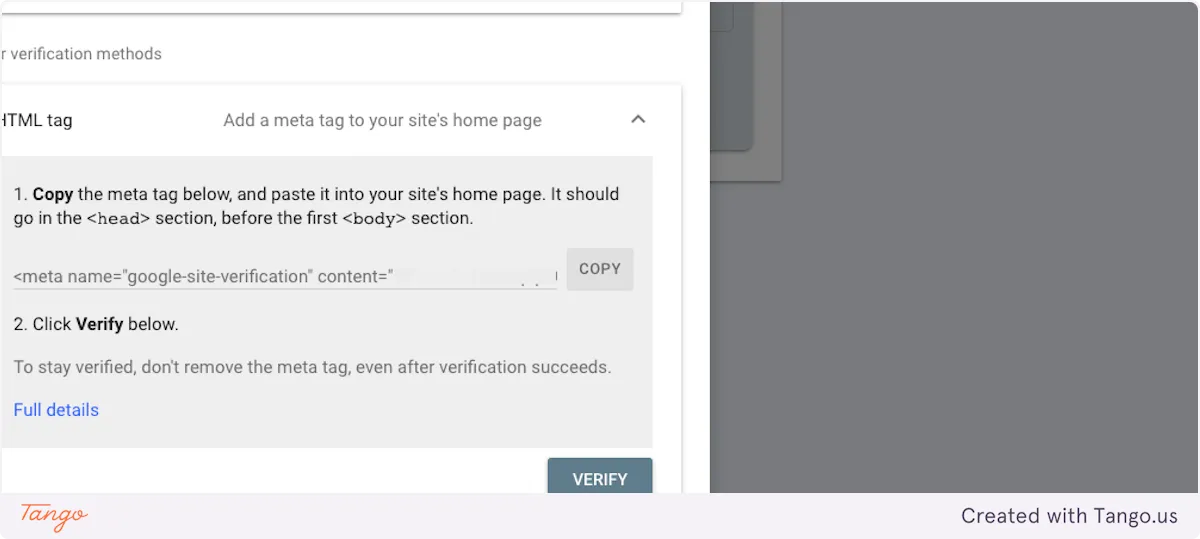
7. Click on Copy
# Webflow
8. Go to Webflow.com/dashboard
Sign in if you need to

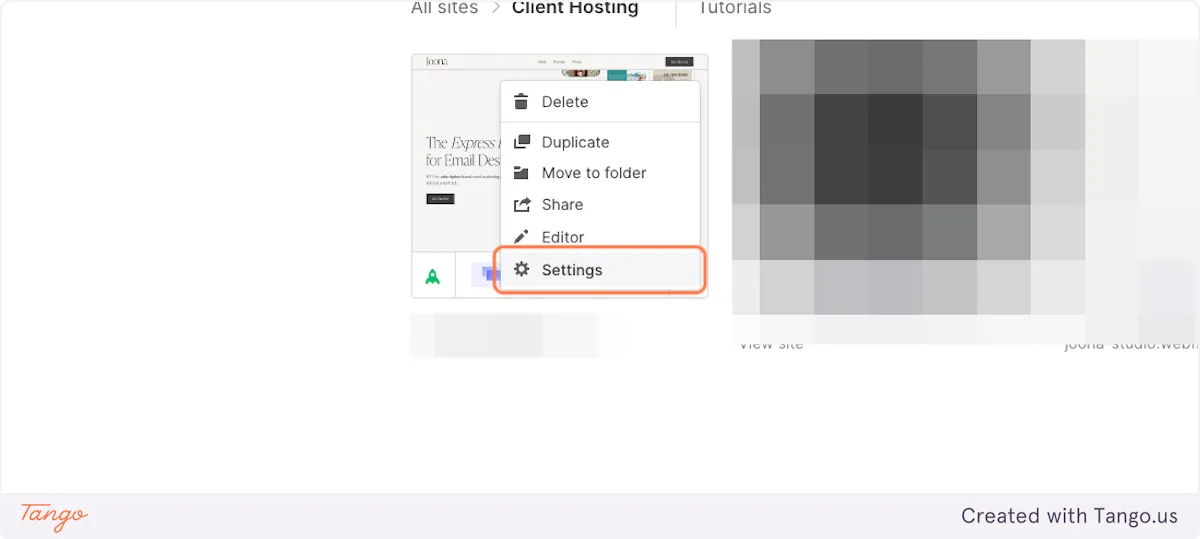
9. Select the 3 dots on the bottom right of your project and select Settings
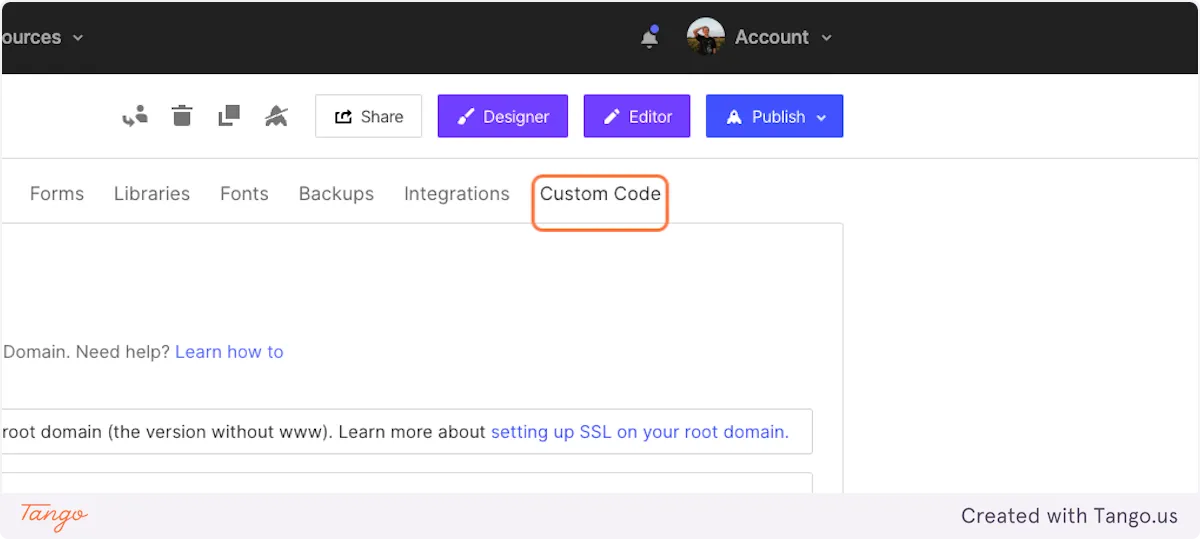
10. Click on Custom Code
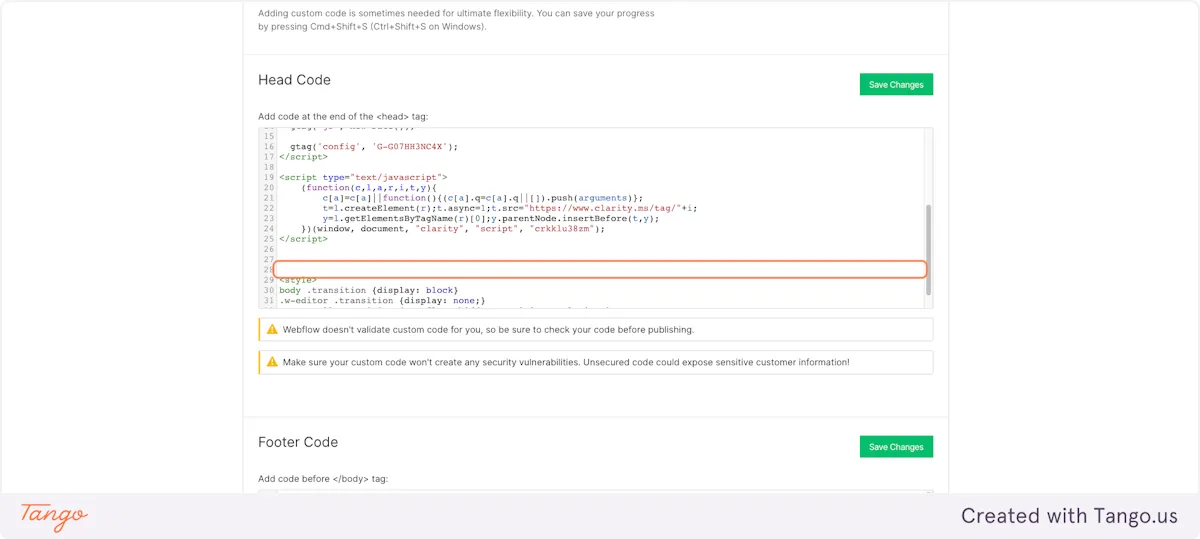
11. Select the 'Head Code' section
If you have something here already it's very important that you put your mouse inbetween the parts that say </script> and </script> (like highlighted) if you don't you will break another script that might already be on the page.
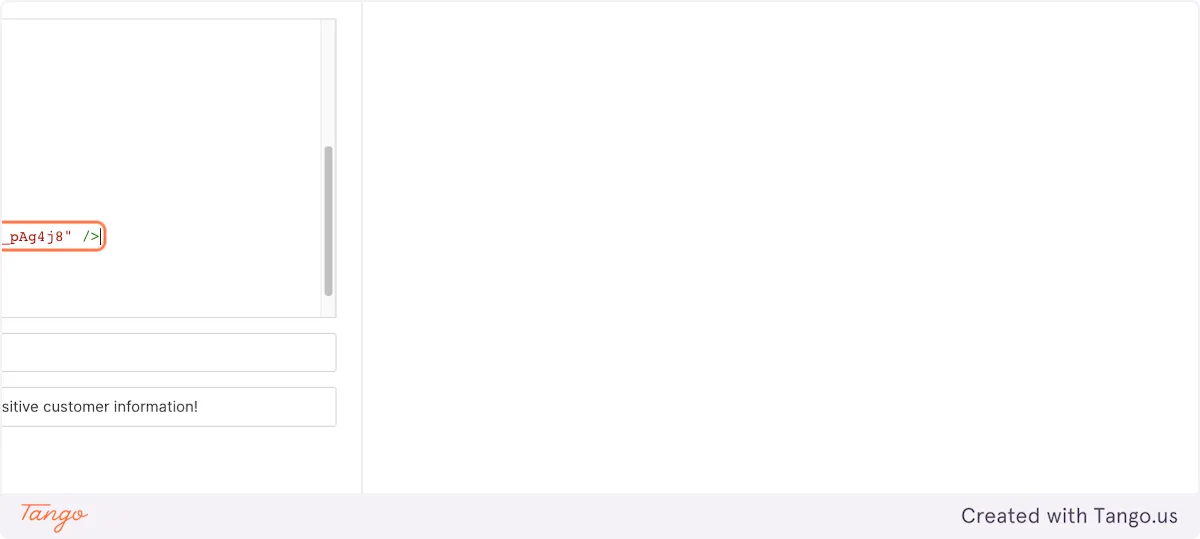
12. Paste the code snippet
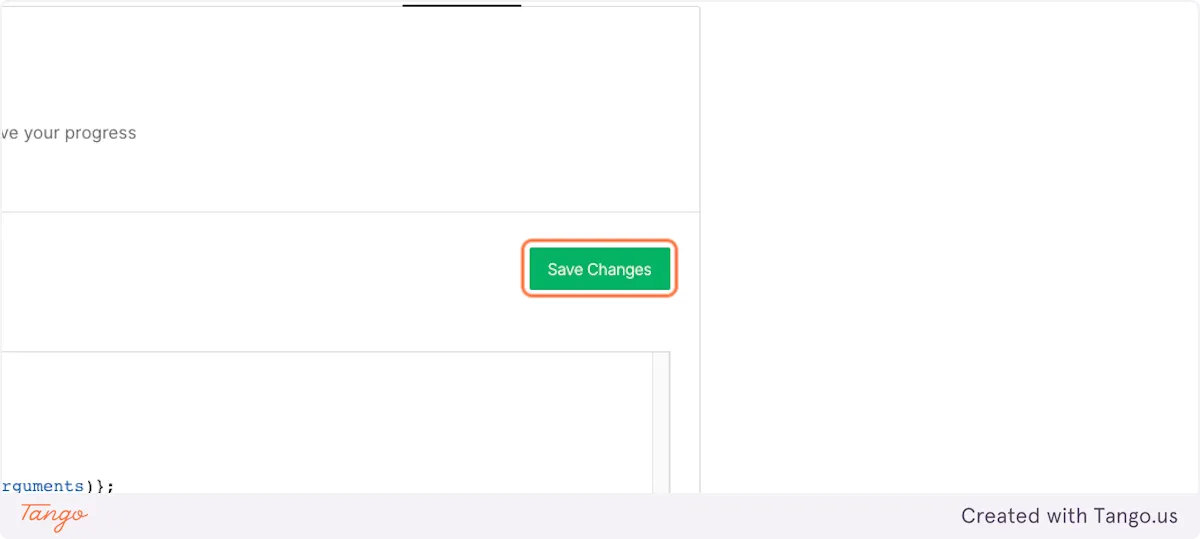
13. Click on Save Changes
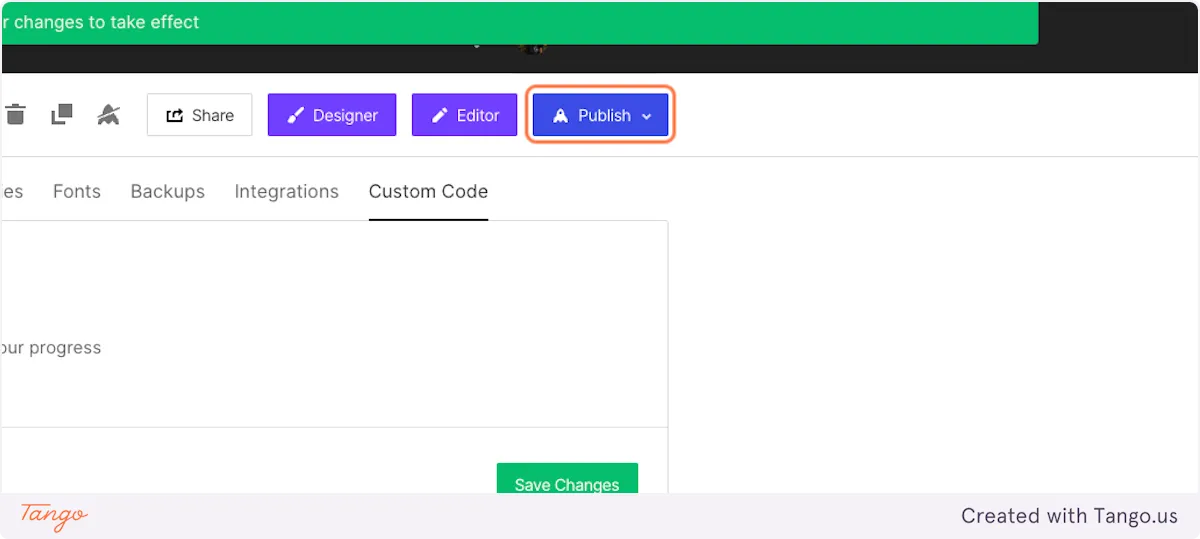
14. Click on Publish
15. Publish it to your domains
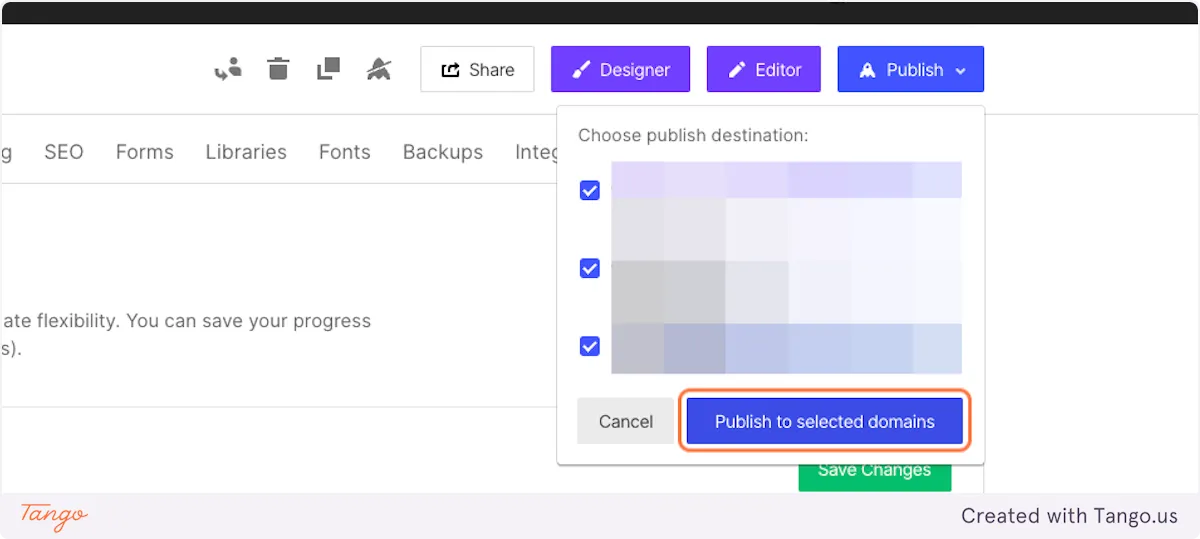
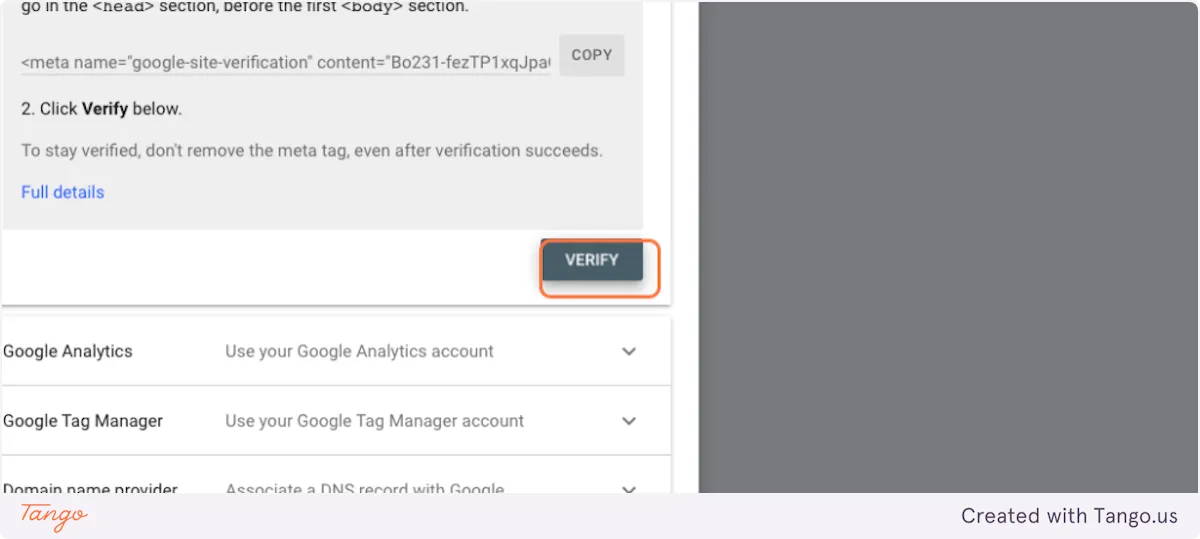
16. Go to back to google search console.
17. Click on Verify
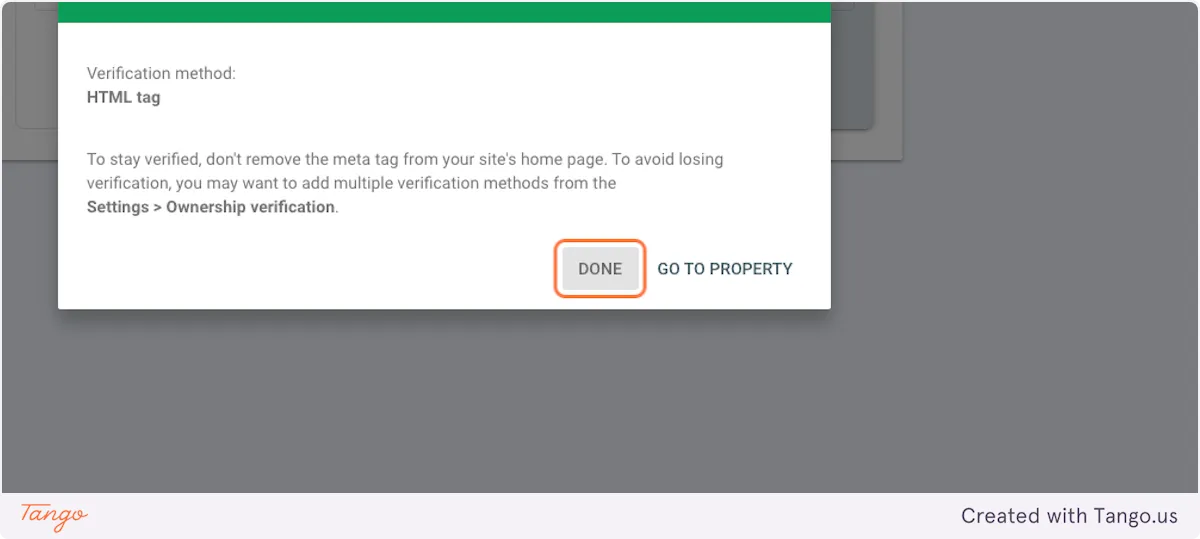
18. Click on DONE
19. Click on Main menu

20. Click on your website property

21. Click on Sitemaps

22. Go to webflow.com
23. Click on SEO
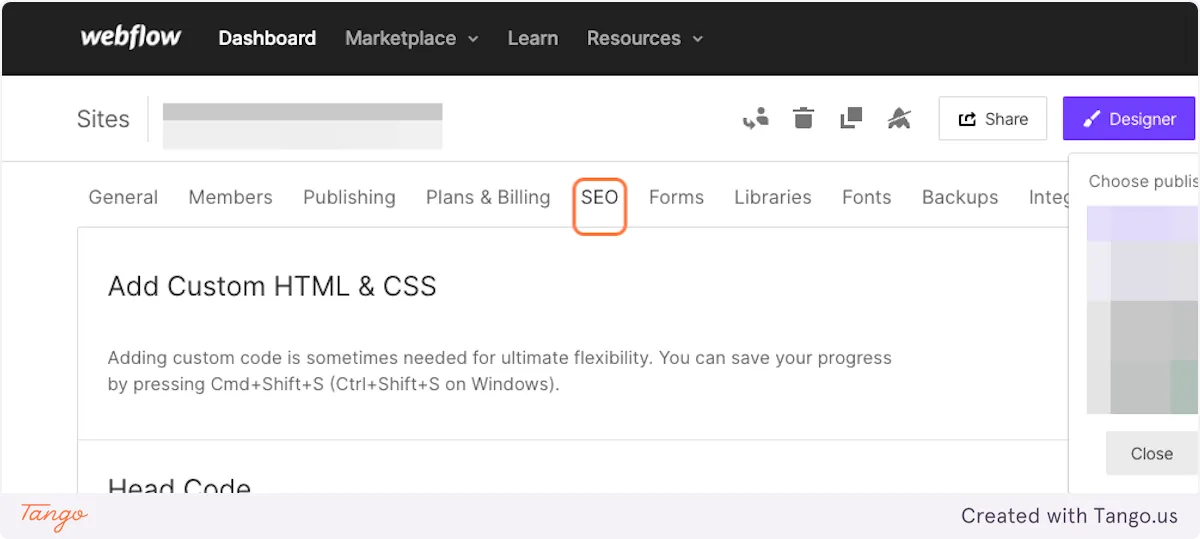
24. Make sure this is set to Yes
This will generate a sitemap for you automatically.

25. Click on Save Changes

26. Click on Publish to selected domains

27. Go to back to Google Search Console
28. Type your domain name and add "/sitemap.xml" to the end of it
Example : Apple.fr/sitemap.xml , yeschef.studio/sitemap.xml
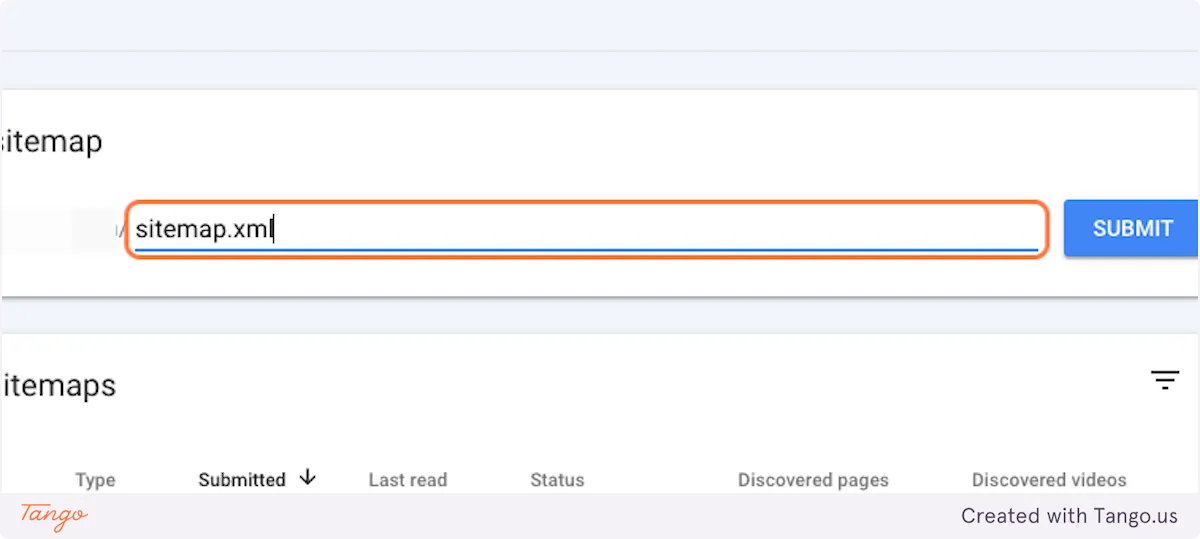
29. Click on Submit

30. Click on Got It
